Help

Tips & help

Short videos and tips to get more out of TabLauncher.

Dragging thingsAdd apps, files and folders by dragging them onto a tab.
Adding applicationsAnd opening files with the apps on your tabs.

TabLauncher Pro

A free companion for TabLauncher customers.

It is the same TabLauncher, distributed outside the App Store, so it can do the things a sandboxed app is not allowed to do.

Windows tab

A special tab that lists the windows of every running app, so you can jump straight to a window instead of hunting for it. Click one to bring it forward; right-click to minimize or close it.

With Accessibility access granted, Pro raises the exact window through the system’s Accessibility API: instantly, even when the window is tabbed away behind another one (Merge All Windows), or sitting on a different desktop. A sandboxed app cannot do this, which is why the Windows tab is no longer offered in the App Store versions.

App icons instead of previews

An option for the Windows tab: each window shows its app’s icon instead of a live thumbnail. No screen captures at all, so the tab opens instantly and the screen-recording indicator stays off.

Quit apps from the launcher

Right-click an app’s icon to quit it (or force quit it if it hangs), or right-click a tab and quit every running app on it at once.

Window Layout (Beta)

An icon that remembers where all your windows are. Click it once to take a snapshot; click it again whenever things get messy and every window moves back to its saved place: position, size and desktop. Right-click it for a new snapshot.

It keeps itself up to date

Pro does not come from the App Store, so it updates itself: right-click a tab and choose Check for Updates…

To use it, TabLauncher from the Mac App Store must be installed on your Mac. On first run Pro offers to take over your existing tabs and settings, so you carry on where you left off. Keep the App Store version installed, but run only one of the two.

The Windows tab asks for Screen Recording (to read window names and draw the thumbnails) and Accessibility (to move windows around). TabLauncher points you at the right System Settings pane when it needs them.

Download TabLauncher Pro

Some screenshots below show an earlier version of TabLauncher.

Adding the Trash icon

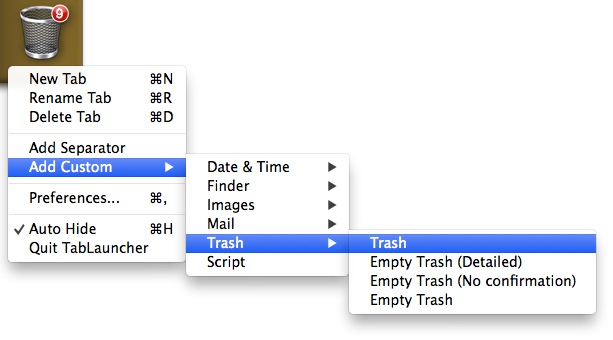
Right-click a tab and choose Add Custom → Trash → Trash. Clicking this Trash icon shows the Trash’s contents in the Finder.

The Add Custom menu with the Trash items

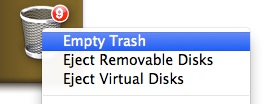
There are some right-click options as well, and more can be added to the menu with AppleScript. You can also add icons that empty the Trash when clicked, instead of showing its contents.

Trash icons on a tab

Adding a custom item

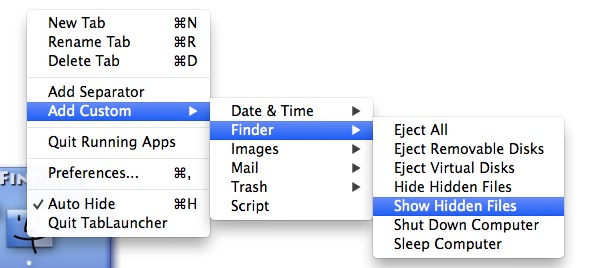
In this example we add an icon that makes the Finder show hidden files. A script for this is already included, so simply add it from the menu Add Custom → Finder → Show Hidden Files.

The Add Custom menu with Show Hidden Files

A new icon appears, and it already works. But it has the default script icon, which is not very pretty, so let’s add our own personal touch.

The new item with the default script icon

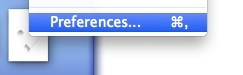
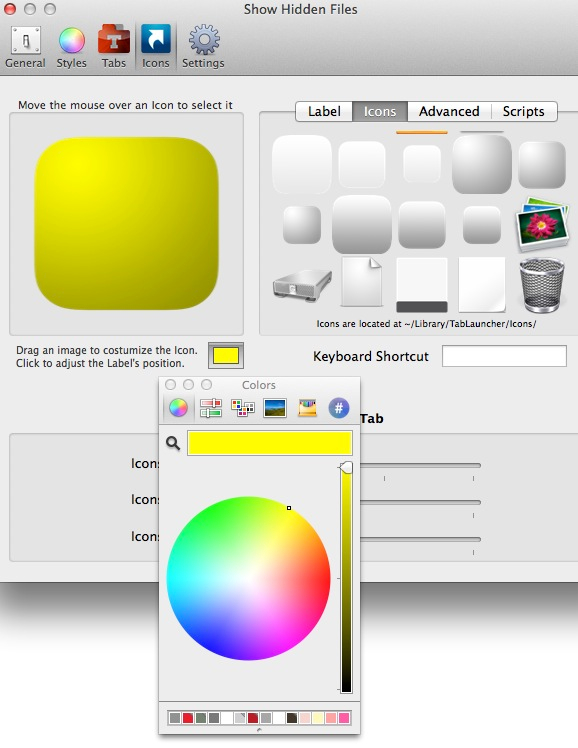
In the preferences you can drag in any image or file to use as the icon’s image, or make your own icon. Here we make one ourselves: start by picking an image from the templates and change its color.

Choosing an icon template and its color

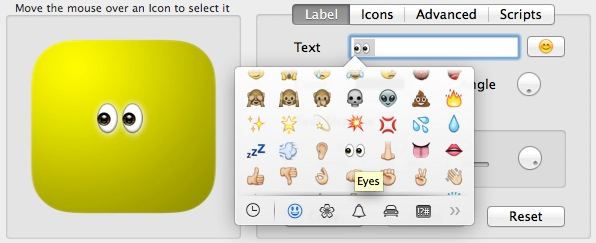
The button with the smiley shows Apple’s emoji and symbols. We’ll use the eyes, which seems right for an icon that shows hidden files.

Picking the eyes emoji

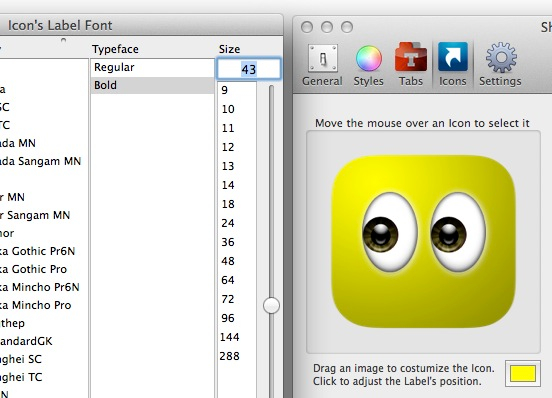
Use the font options to adjust the size.

Adjusting the size with the font options

And here is our new icon that makes the Finder show hidden files.

The finished Show Hidden Files icon

Want more? The Add-ons page has ready-made scripts.

Adding Finder

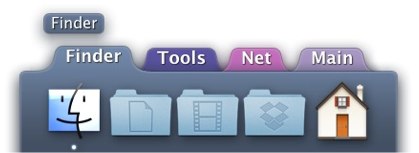
You can drag the Finder to any tab. It lives at /System/Library/CoreServices/Finder.app. But maybe it’s easier to drag the folders you use the most onto a tab.

Folders on a tab

Resizing TabLauncher

TabLauncher grows to fit the biggest icons you have on all your tabs.

Large icons on every tab

Shrink the icons on only one tab, and the width goes down while the height stays.

Smaller icons on one tab

Shrink the icons on all tabs, and the height goes down too.

Smaller icons on every tab

Resizing the tabs

Adjust the Appearance slider in the Tabs preferences. Some styles include a smaller tab.

The Appearance slider A smaller tab style

Still stuck? See the FAQ, or write to us at info at oktoid.org.